Showing posts with label diy. Show all posts

Monday, October 1, 2012

DIY lining dresser drawers

well hello and happy monday! earlier this summer i refurbished a little dresser purchased for a beautiful five dollars at a local thrift shop. it required a lot of tlc before i could even apply a fresh coat of paint...sanding, priming, sanding, priming...you get the picture c; i continued to spoil this dresser by buying knobs from world market that were a little pricey {for me at least} but luckily i had a coupon to justify my purchase c: after giving this dresser a face lift, i stepped back and admired the simplicity but just felt like it needed something else...a little something extra. then it came to me, this little dresser needed it drawers lined. so i googled, searched pinterest, brainstormed a little and came up with a little bit of this little bit of that way of doing it. here is the tutorial of how i used fabric to line my dresser drawers.

what you need:
fabric {found mine on clearance}, fabric stiffener {used a 40% coupon from joann's}, iron and ironing board, scissors, measuring tape {or anything to measure with}, double sided mounting tape {i used scotch foam mounting squares and cut them in half so i only had to buy one pack}

the steps:
**please forgive me in advance for the lack of pictures. i wrote this tutorial because so many friends were asking how i did it...and didn't take pictures at the time of the project**
step ONE: soak the fabrics in a mix of water and fabric stiffener {it should tell you the ratio on your bottle}
step TWO: ring out the fabric and let it dry on a flat surface in the sun
step THREE: once the fabric is completely dry and stiff take it to your ironing board and get out all those wrinkles
step FOUR: pull out your drawers and measure the dimensions where you will be laying the fabric
step FIVE: use a pencil and measuring tape to measure the amount of fabric you will need to cut out to fully line the drawer
step SIX: cut the fabric, keep in mind it needs to be as straight as possible so it fits perfectly into the drawer
step SEVEN: take the double sided mounting tape and place a square at each corner of your drawer, you may also add an additional square to each side of the drawer, ensuring the fabric won't slip
step EIGHT: place the fabric in, firmly pressing the fabric against the tape...what's great about this tape is that's a cinch to take out if you ever want change the fabric liner
step NINE: step back and admire your work
step TEN: now repeat the steps and finish the entire dresser c:

happy lining!

Friday, September 7, 2012

what to do with a wooden box

last sunday was a church, housework and bbq kind`of day. while the boy was out in the hot sun putting up our hammock, i was enjoying our air conditioner and brainstorming where we should keep the keys. they needed a home, a place they could be easily located and then it came to me.

oh and it makes me so happy c:
i picked up this wooden box at a thrift store about a month ago. at the time i wasn't sure exactly what i would do with but for a dollar, i knew i would figure out a use...and that i did c: the second best part of this project was that everything filling my dollar wooden box was found around my house.

alright, starting from the top. this is twine and old weathered looking clothespins to hang pictures and notes. these are some wedding photo's i already had around the house, so i threw them up there c:

oh yes and how to hang that twine, easy smeezy just a little righty tighty and lefty loosey. i just slightly loosened the screws used to hang the box, wrapped it around and then re`tightened them. 

i bought this wood block R from michaels on crazy clearance early this summer...i believe it cost me like twenty cents. here i used scrapbook paper and transferred the print over to the wood exactly how i did in my DIY picture on wood tutorial just with fun scrapbook print instead of a photograph, find it HERE. i wanted this R to look faded and old {not like i just made it yesterday}, so in the final steps of rubbing off the paper, i rubbed a little harder in random areas and around the edges to give it a worn look. 

i found these hooks at world market last year. they use to hold our favorite coffee mugs in our old apartment, but our house has a tile backsplash so i had to retire them as mug hooks when we moved. luckily i kept them in a safe spot, so when my wooden box idea came i knew exactly where to look. these little hooks are now fulfilling their second life purpose as our key holders.

on the left we have a weekly menu made from a picture frame, find tutorial i posted on picture frame whiteboards right HERE. in that tutorial i made a large one and loved it. but over the year i decided i didn't really need it to be that big...so i downsized and made this one. the picture frame is from the dollar store, spray painted and then scuffed up a bit with sandpaper.  
to your right is a baby jar that use to hold homemade jelly, now it's the home for a transparency marker, a pen and an extra clothespin. oh and behind it are some lemon lookin` sticky notes for future reminders on that twine.

cheers to another thrift store score and knowing where my keys are c:

Friday, August 24, 2012

DIY picture on wood

this is a fun and easy way to display pictures. not to mention a unique and inexpensive gift. last chirstmas we were on a tight budget {saving for our down payment and all} luckily it was at that time i was introduced to pinterest <3  THIS tutorial saved me mula while still gifting something pretty special. last week i finally got a chance {and remembered} to make one for myself, a gift for me c: 

FIRST thing you need is a block of wood. mine was left over from my christmas stash and is 8in X 10in. i bought my lumber from home depot and one of the associates cut 8in X 10in pieces for me. SECOND a printed out picture on regular paper. i set my printer options to 8in X 10in so it would fit my block 'o wood perfectly. you can print color, sephia or black and white...i've done each one and they've all turned out fine. personally i like the black and white's or sephia, to give it a more antique look on the wood but that's me c: THIRD medium gel mat, bought it from michael's with my 40% off coupon for about $7.00 and it's lasted me over a dozen wood pictures. FOURTH some handy dandy mod podge.

 choose which side of wood you want the print to show up and sand it down.
then apply your medium gel. 

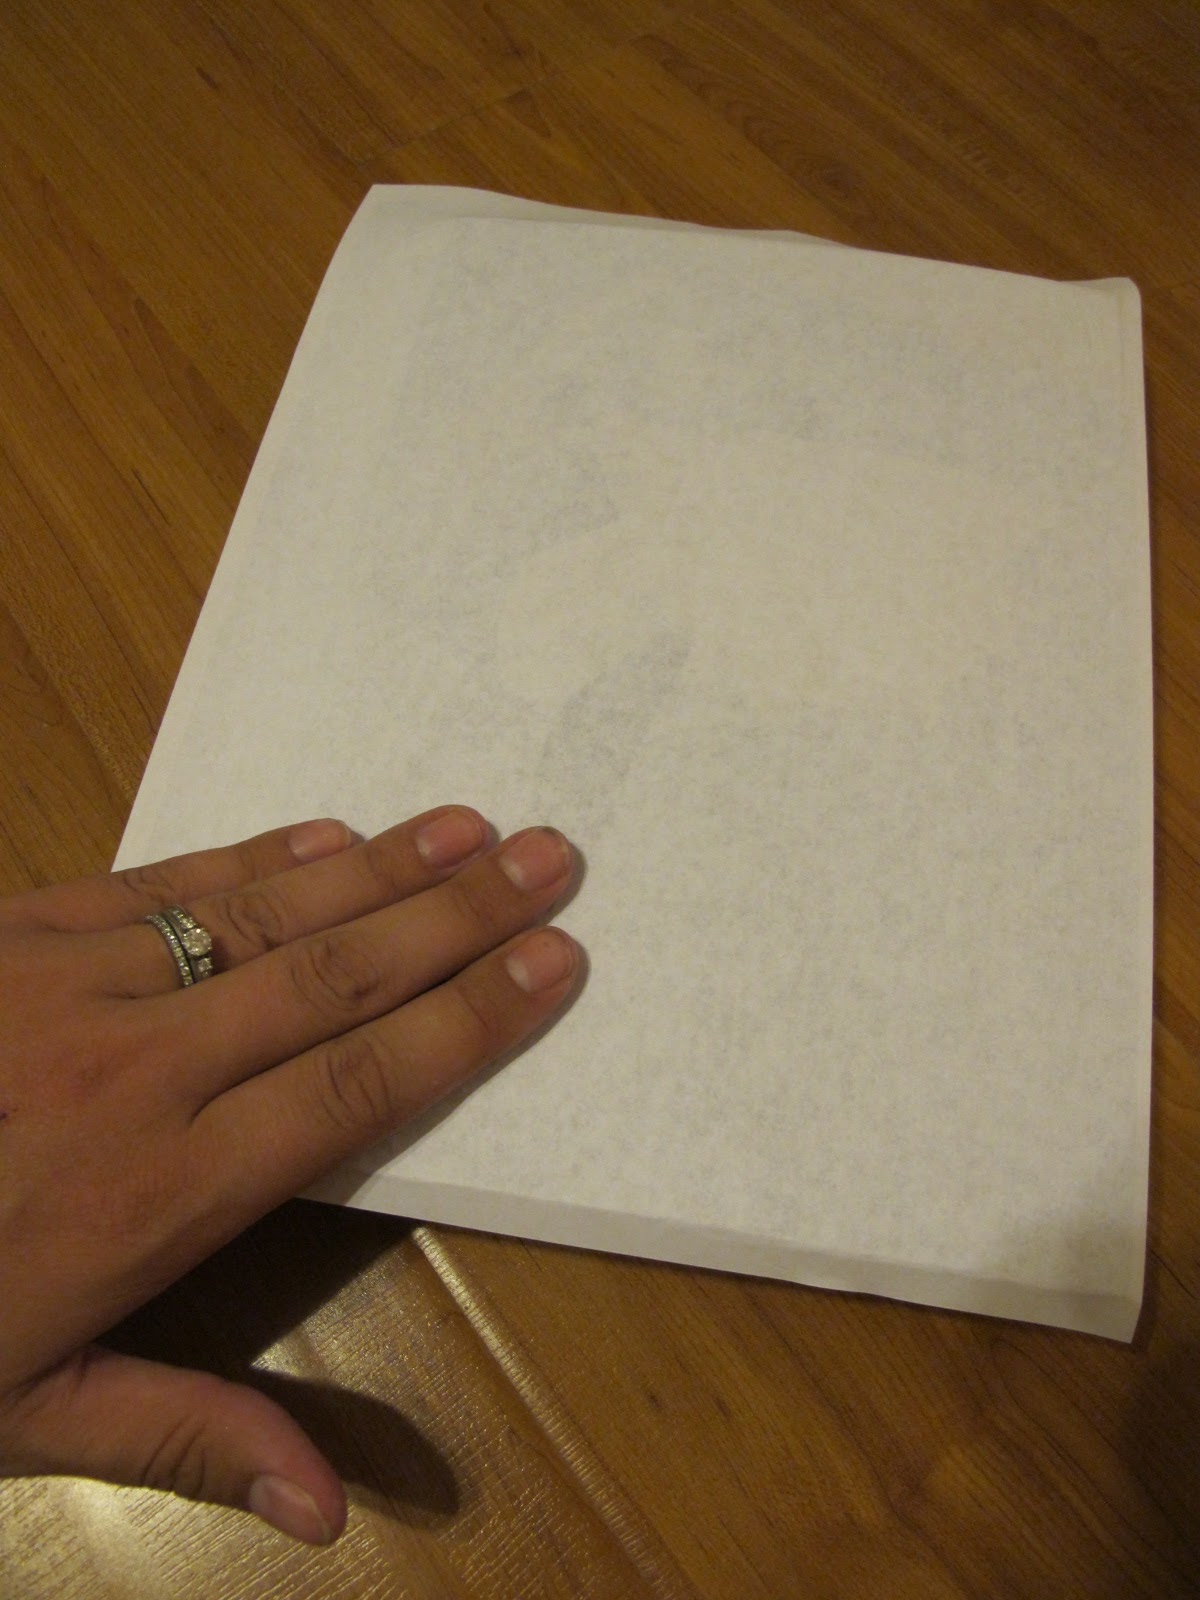
place your picture print side down and smooth it with your fingers so there are no bubbles. let it set over night.

dampen the picture with a wet rag and rub away the paper. after you think you've gotten everything, let it dry for a few minutes and check again. sometimes when the paper is wet it blends in to wood, so it appears that everything's off but it's not. that's why i let it dry so i can re`examine where i need to complete my final rub's. 

once all the paper is off, apply your mod podge to seal your picture and let it dry. 

taadaaa! in a few minutes you will have a finished product like this c:

Tuesday, July 3, 2012

birdie hangout


it's official, i've become a tad bird crazy {check out the obsession from my hummingbird and bird bath posts}. i got this idea from life on the balcony where they use lumber and washers and bolts and nails...which is a little too much work for me, especially when the boy is not home. instead i picked up a picture frame from the thrift store and the baby terra cotta pot from home depot. since i already had the hemp, bird seed and spray paint, this project cost me two dollars c:


here's how i did it: 
1. lightly spray painted the picture frame.
2. used a hot glue gun and attached hemp to either side of the frame. this allowed it hang and kept the front of the frame facing our kitchen window.
3. tied a little hemp around my terra cotta pot and hot glued the base of the pot to the picture frame.
4. then i hung it on a branch and filled it with bird seed.

i may have overfilled it...but i wanted the birds to know where the food was at c:
caught lynnee licking her lips...luckily the birdie hangout is out of her reach c:

Monday, July 2, 2012

herbs and birds

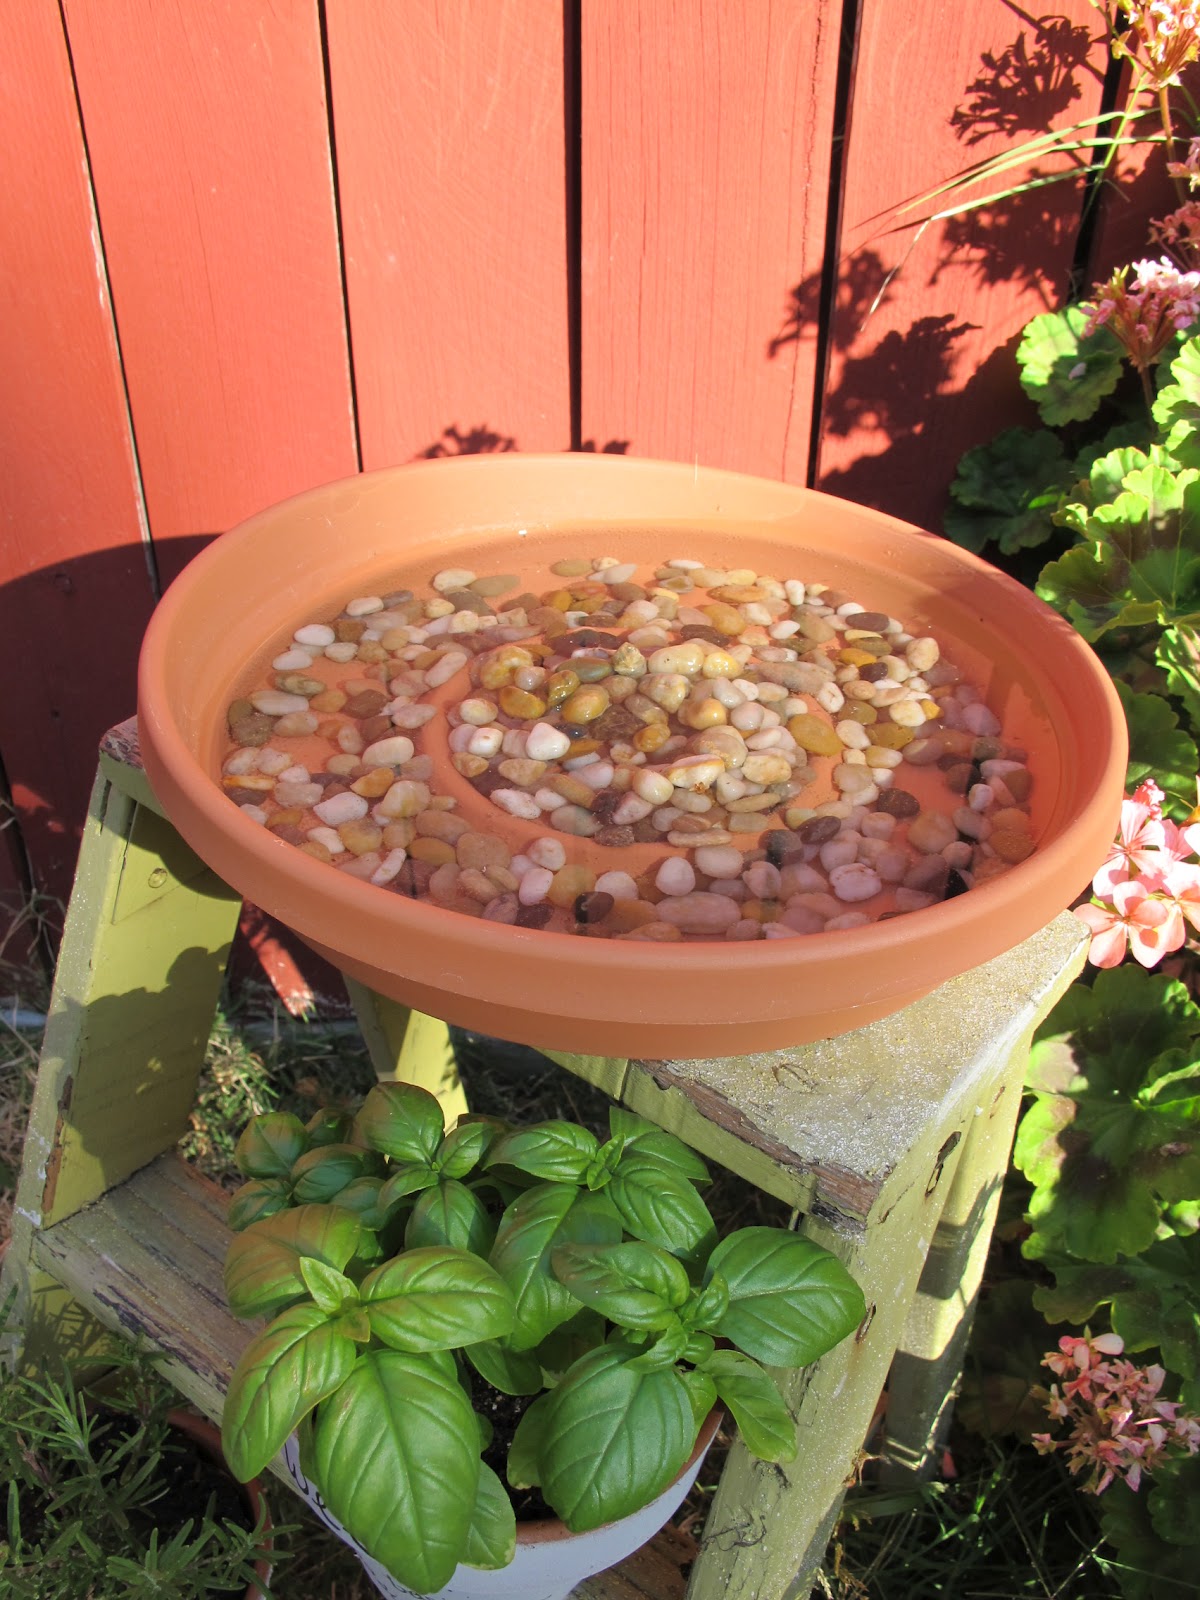
a birdie bath and some future eats, inspiration came from this incredible woman.
these are two of the three terra cotta pots i purchased on my thrift store score day, herbs {sweet basil and rosemary} from the home depot, also bought a saucer to hold the water and rocks, and our little step stool was free {and absolutely perfect in every way}.

for the flower pots:
i placed them upside down on a towel and spray painted white, i like that it left a little rim of terra cotta on top. after they were dry i simply took a sharpie and wrote on them, then transferred my herbs on over. i've watered them numerous times already and they've stayed perfectly intact c:

i've already caught a few birdies taking a bath. maybe, just MAYBE someday i could catch them with a camera in hand c:

Thursday, June 28, 2012

a place and a purpose

my thrifty treasures have found their homes.

thanks to that sweet boy of mine, the pitcher is holding flowers

the cd rack became our bill/important note holder
{hmmm...need to find a better name for that!}
{{i'll probably spray paint it later}}

glass bowl took on the responsibility of housing the q`tips in the guest bath

the other wire organizer in our fully organized linen closet
{originally the organizer was white, then i spray painted it yellow, but then i bought the turquoise and lime green baskets from the dollar tree....so my wire organizer may go back to being white, don't worry i'll keep you updated on this major decision}

and the woven basket now hosts our extra tp. 

i love that my finds have found a home c:

left to place and give a purpose are:
the books, terra cotta pots, picture frame and that dresser
...ohh, i am so excited about that dresser...


Friday, June 22, 2012

for the birdies

lately i've been all about the birds. we have big, beautiful windows in our kitchen that look onto a tree that's often the resting point for birdies. when i was younger, my parents always had bird feeders of all kinds around our property. now that i'm not apartment living, i can finally invite the birds over! but once i started looking to buy bird feeders, they seemed pretty expensive for how simple they were. i began searching the lovely site of pinterest, even giving the birds their own board , yes they're a tad spoiled c: my first bird project was for our hummingbirds. 

i LOVE browsing through pinterest to find inspiration and ideas for projects. however, most of the tutorials i find use materials that would require a little shopping, aka money spending. soooo, for this project i managed to switch up a few things with items i already had around the house. the only thing i had to buy was a feeder tube, this i did not have just hanging around the house c; i got my feeder tube from a local gardening and bird store sold to me for four dollars by a sweet lady who was a living dictionary for birds. 

{here's what i came up with}

you will need:
red plastic spoons
candle and lighter
bottle {plastic or glass}
twine, rope or a chain
feeder tube
glue gun
scissors

sorry i didn't capture every step with a picture...lucky the beautiful tutorial i based my project on took detailed pictures, find it here.

step 1. light that candle and enjoy the yumminess c: then get to work by gripping the spoon by the handle and holding the 'spoon part' about two inches over the flame. slowly rotate the spoon. it will begin to melt and warp. pull it away, wait a few seconds and CAREFULLY morph the spoon with your fingers. please be careful, it's pretty hot {go figure...it was just inches away from a flame}.
 this is what they look like after wards. each spoon will turn out a little different and random...just like flower petals.

step 2: use your scissors to snip off the handles of the spoons.

step 3: carefully hold the the tip of the spoon so that the edge you just cut is over the candle flame. this allows the rough edges to melt a little and be softened. immediately after i pulled the spoon from the flame i pushed it against the bottle {see below} so it gained a round shape and would be easier to glue on later. do this for all your spoons.

step 4: grab your hot glue gun and attach your petals one`by`one, by placing a dab of glue and pressing the end of your petal to the bottle for a couple seconds so it can secure the hold. i ended up having two layers on mine. 

step 5: hot glue twine to your bottle, or attach a chain. whichever you choose, make sure it can hang at a slant. 

step 6: save a little more money and make your own hummingbird food. easy and simple sugar water, 1 part sugar to 4 parts warm water. found this recipe here. once it cools a little, pour the sugar mix into the bottle.

step 7: plug in the feeder tube to close off the top and hang your hummingbird feeder. 


i'm so happy with how it turned out, especially with my only expense being the tube feeder. the feeder has only been up for a day or so, and i've been waiting patiently for my hummingbirds to come. which means making extra trips to the kitchen just to check in on them. 

Thursday, June 14, 2012

sparkling wine glasses

last weekend's bachelorette party was spent in napa {aawwhh. yes, it was beautiful}. the bridal party all chipped in, rented a house, then spent the weekend soaking up sunshine and wine tasting. unfortunately i had to leave a day early in order to make the wedding of my dear school friend. so it was only proper for me to excuse my short stay by crafting some fun, girly and very appropriate wine glasses. upon much research, here was my favorite tutorial i based this project on...{credit}

what i used:
~martha stewart multi`surface craft paint $2.99 {use michael's coupons}
~wine glasses {i bought a variety of sizes from the dollar tree}
~brush to apply the glitter paint
~scissors 
~tape 
~tooth picks 


step 1: wash all of your glasses and have them completely dry before you begin.
step 2: squeeze some glitter paint into a small container.
step 3: use tape to create a line circling the top your glass.
step 4: paint several layers, 3-10 layers depending on how concentrated you want the glitter to be. each layer should be light, so you don't have the clumpy look. each of our glasses were a little different, some more concentrated where the tape was then faded out towards the bottom...others we heavily painted the base and gave the faded look going up. 

for the bride to be, i wanted her's to stand out. first i used tape to outline a box, then i placed a sticker in the middle of my box to personalize it. i slowly added light layers {maybe 10} over the sticker and within my box. once the paint dried i used my tooth pick to carefully take off my sticker and touch up the 'N'.

step 5: time to cure. putting glass in a oven made me a little nervous, so i did A LOT of research to guarantee my wine glasses wouldn't shatter. here's what you do: place all your wine glasses on a baking rack, put the wine glasses in your oven, turn it on for 350 degrees and set the kitchen timer for 30 minutes. it's important that your baking sheet is cool and your glasses are in the oven WHILE it is preheating because it allows everything to heat up together. when your timer is rings, turn your oven off and leave the glasses inside to cool down {again we are avoiding dramatic temperature change}. once everything is nice and cool, feel free to take your glasses out. let them set for three days before you use or wash. after the third day you are ready to use, enjoy and throw it in the dishwasher {bonus!}.


craft and enjoy c:


Friday, February 3, 2012

picture frame whiteboards

i'm a huge fan using the picture frame white board idea. extremely and ridiculously simple. all you need is a picture frame, scrapbook paper and a dry erase pen...amazing yes? it's works wonders the kids i work with  because they choose the design/color of paper to have in the background {love that the littlest things are the most motivating for kids}. you can also run lessons by printing pages in the back..identifying body parts, math or just practicing their name...it's fun to get creative with it. just remember that it is glass and most frames have sharp edges..my rule is it stays at the table. okay enough kid talk, here's what i did for my o' so grown up house :)


this idea has been floating around pinterest and i've wanted to do it every since i laid my eyes on it
the boy and i take turns, every so many days and write a new message
sometimes goofy, sometimes super mushy, always uplifting.
{i'm pretty stoked i got him to participate}


well school is back in session {and the boys home!} so we needed some organization for the meal situation
my schedule is different every day and night so obviously i pinned this idea off pinterest.

i super glued the wine corks at the bottom if i wanted to add a recipe or note to the boy
he's been helping out big time with our various dinners so it's not all on me :)
if it tastes bad..it's his fault ;)
eventually i want to put it on the wall..but for now it will hang out right here.

another tidbit...i forgot to mention if you're adding stickers put them on the paper not the glass
then you can save some mulu and reuse the picture frame
the scrapbook frame above was first used for a school project,
after i took pictures for my portfolio, i took it apart 
and wahla! a menu.

Monday, January 30, 2012

saturday night love

saturday night was one of those perfect nights. worship.laughter.friends.food.crafts. after work i rushed home to pick up the boy and we meet one of our most favorite couples at church for the evening service.  then we out to eat using a christmas gift card :) after our stomachs couldn't handle any more complimentary bread, we took our left overs {plus more bread} back to our place. the boys played video games, and we tried not to get in their line of vision as we crafted this together:


i love crafting with nicole because we finish each other sentences
and we get wayyy excited about everything
she's much more enthusiastic about my crafting adventures than the boy
...go figure! 


i had gotten these hearts forever ago on clearance
originally it was two sets of three that were connected together
but we cut them up and hung them from the ceiling instead.


branch look familiar? reused and wrapped in sparkly heart wire.


i made these last year
scrape book pictures cut up and backed on pink paper
then inserted in dollar tree picture frames.
{please excuse the dust..from poking holes in that lovely popcorn ceiling of ours}

this little section of the apartment makes me so happy 
not to mention getting to hang out with both of our boys home
life is good :)


Monday, January 23, 2012

left overs + hot glue = necklace

my last few days of freedom {before school started} i came across this pinterest idea. the boy was away on drill and i was home alone...debating on cleaning the kitchen or a craft...hmmm crafting won :) i kind of threw together a bunch of left overs..added some hot glue and made a necklace. the pearls i bought years ago from the dollar store and have used them for christmas decorations. the ribbon was left over from something i did {can't remember}. and the heart and other doo~dad were from a bag of beads i bought for a bracelet...originally i wasn't planning on using them, however my knots to connect the ribbon and pearls were not so pretty. so this was my attempt to cover them up. 


i'm pretty happy with how it turned out
it's amazing what you can find around the house :)
thank you yet again pinterest.

Thursday, January 19, 2012

dollar store earring holder

super easy, dollar store earring holder :) i got my inspiration from matsutake who used the base of a lamp, a larger frame and used it as a mood board. i loved the idea...however i have no where to put it in our little apartment {which is already crammed with diy projects in every available space possible}. so i decided to down scale...went to the dollar tree, bought a frame and a candle stick holder. then used up the last of my white spray paint and lightly sprayed it...ha lightly because i was running out :) but i kind of light that it wasn't white white. you can still see some of the black and gold trim from the picture frame. i took some left over black embroidery thread and very VERY tightly wrapped it around the sides, then used krazy glue to adhere it. two strands on the top and three on the bottom for extra hanging sturdiness. and yes, more krazy glue to attach the picture frame to the candle stick holder. 


tadaa {mine}


my inspiration...someday i'll make a real size one :)


what i had to buy
picture frame: $1.00
candle stick holder: $1.00

what i already had
embroidery thread: $0.39
spray paint: $3.87
krazy glue $2.35