
this is a fun and easy way to display pictures. not to mention a unique and inexpensive gift. last chirstmas we were on a tight budget {saving for our down payment and all} luckily it was at that time i was introduced to pinterest <3 THIS tutorial saved me mula while still gifting something pretty special. last week i finally got a chance {and remembered} to make one for myself, a gift for me c:

FIRST thing you need is a block of wood. mine was left over from my christmas stash and is 8in X 10in. i bought my lumber from home depot and one of the associates cut 8in X 10in pieces for me. SECOND a printed out picture on regular paper. i set my printer options to 8in X 10in so it would fit my block 'o wood perfectly. you can print color, sephia or black and white...i've done each one and they've all turned out fine. personally i like the black and white's or sephia, to give it a more antique look on the wood but that's me c: THIRD medium gel mat, bought it from michael's with my 40% off coupon for about $7.00 and it's lasted me over a dozen wood pictures. FOURTH some handy dandy mod podge.

choose which side of wood you want the print to show up and sand it down.
then apply your medium gel.
then apply your medium gel.
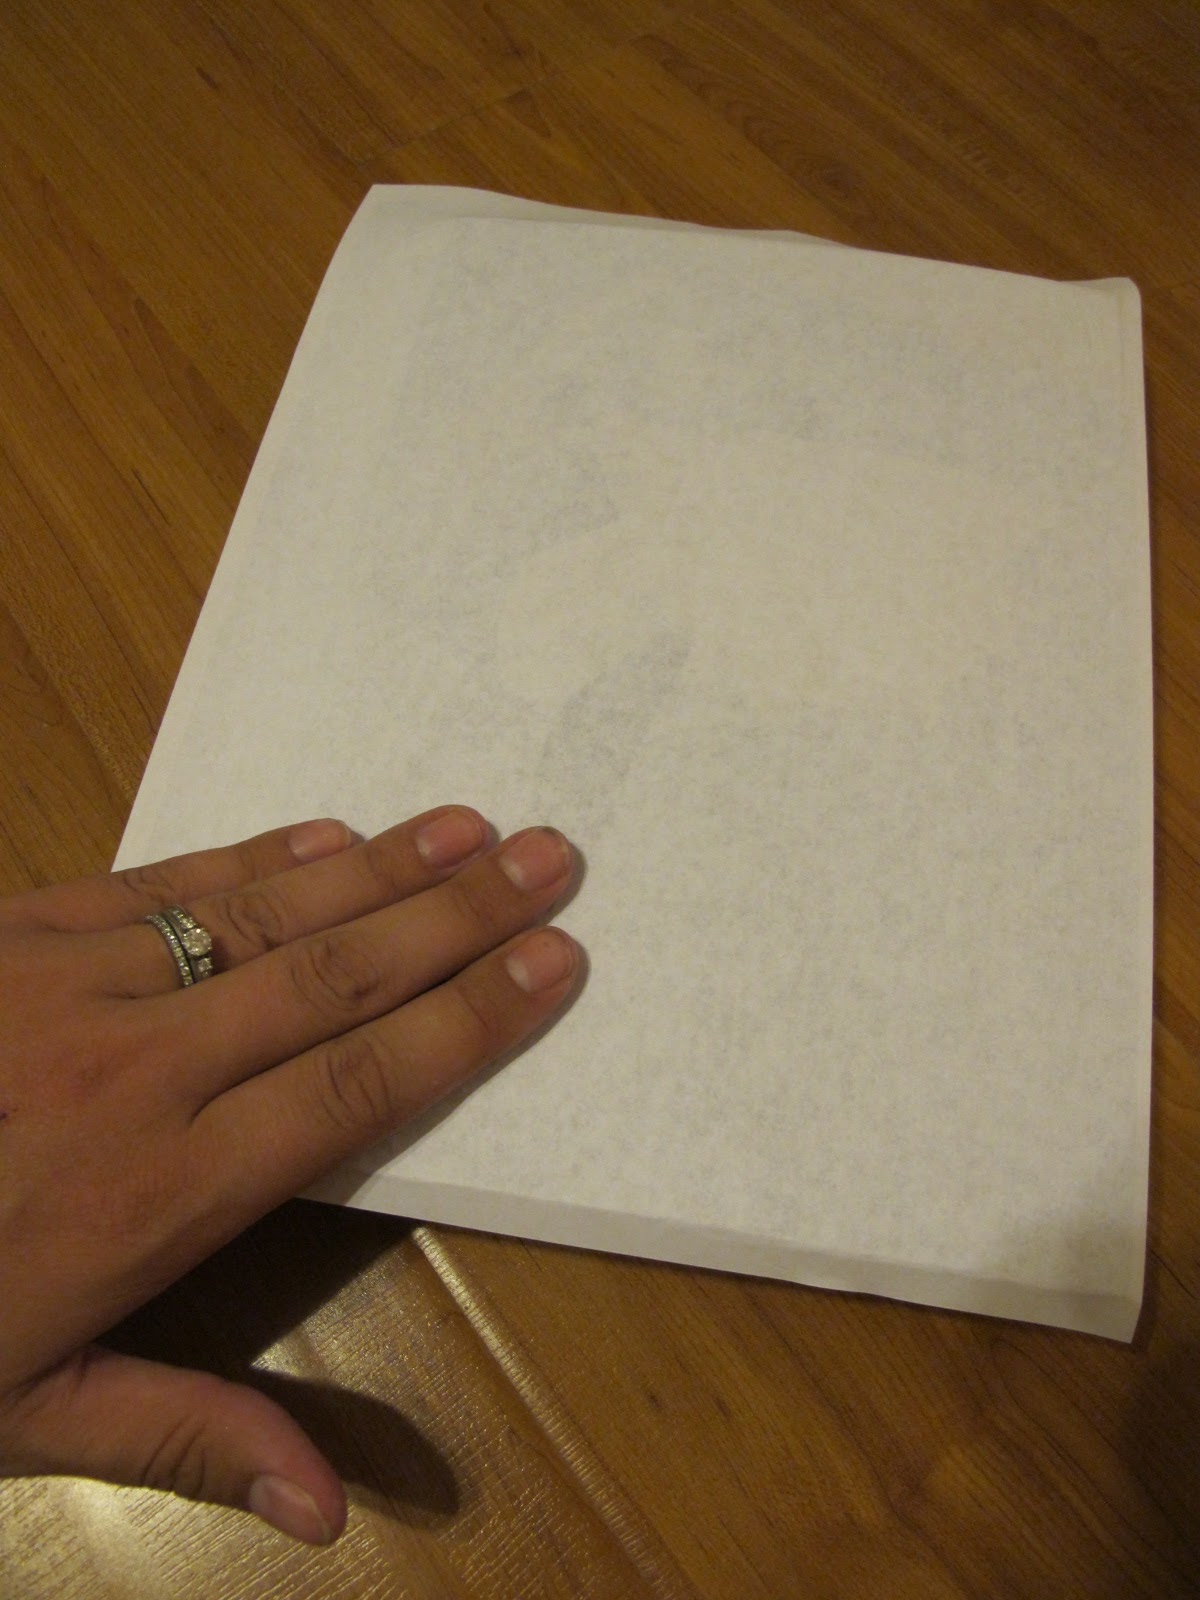
place your picture print side down and smooth it with your fingers so there are no bubbles. let it set over night.

dampen the picture with a wet rag and rub away the paper. after you think you've gotten everything, let it dry for a few minutes and check again. sometimes when the paper is wet it blends in to wood, so it appears that everything's off but it's not. that's why i let it dry so i can re`examine where i need to complete my final rub's.

once all the paper is off, apply your mod podge to seal your picture and let it dry.

taadaaa! in a few minutes you will have a finished product like this c:
I am so glad you posted this! I can't wait to try this. It's so easy and looks amazing!
ReplyDeleteI am definitely going to try this! So cute :)
ReplyDeleteI'm currently doing this project using what seems to be the same wood as you (pine?). The picture is rubbing off along with the paper ... and I can't get all the paper off... I'm on round four with rubbing and the paper still isn't off all the way. Not sure what I'm doing wrong but I'm going to end up ruining the entire picture if I rub anymore... do you happen to have any tips for getting the paper off without ruining the picture itself?
ReplyDeletehello c: and yes, i used pine in this tutorial, other woods work as well c: i have done this project so many times...here are a few pointers i've discovered along the way.
Delete1. did the print from the picture look like it set and the ink transferred? if not, you may have not used enough medium gel OR you may have not let it set long enough. patience is a virtue on this one, make sure it sets over night (eight or more hours).
2. due to my own trial and error, here are a couple pointers for the ink to not rub off. after it has set overnight, take a washcloth and lightly wet the surface. then take the wet washcloth and both slowly and gently rub off the picture in circular motions. remove any extra paper that on the wash cloth. this might take you multiple times, but the key is slow and steady wins the race! once it looks like almost all of the paper is off (it won't look perfect), apply the mod podge. the application of the mod podge most likely will conceal the remaining bits of remaining paper. after the mod podge dries you can still go back with a wet wash cloth and continue to wipe off paper if it is still visible, then reseal it with the mod podge again.
i hope this helps! PLEASE let me know if you have any more questions c: hoping everything works out smoothly c:
Does the picture have to be matte? I did it with a print that was glossy and there was some layer that I couldn't get off..
ReplyDelete